Help > Access and Signing In > macOS
macOS
You have the ability to access your hosted RDP session from a macOS device. To access the RDP environment from macOS, you will need to download the Windows App. The following steps will instruct you on how to access your session using the Windows App.
Important Note: If this is your first time logging into the RDP environment, you need to perform an initial Multi-Factor Authorization and create a new password before proceeding with the steps below. The first time you login in any given calendar month you will need to repeat the MFA process.
Download the Windows App from the Mac App Store.
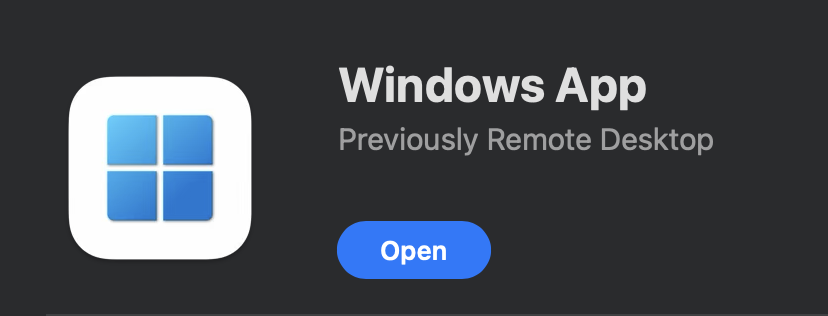
Once downloaded and installed, click and open the Windows App application.
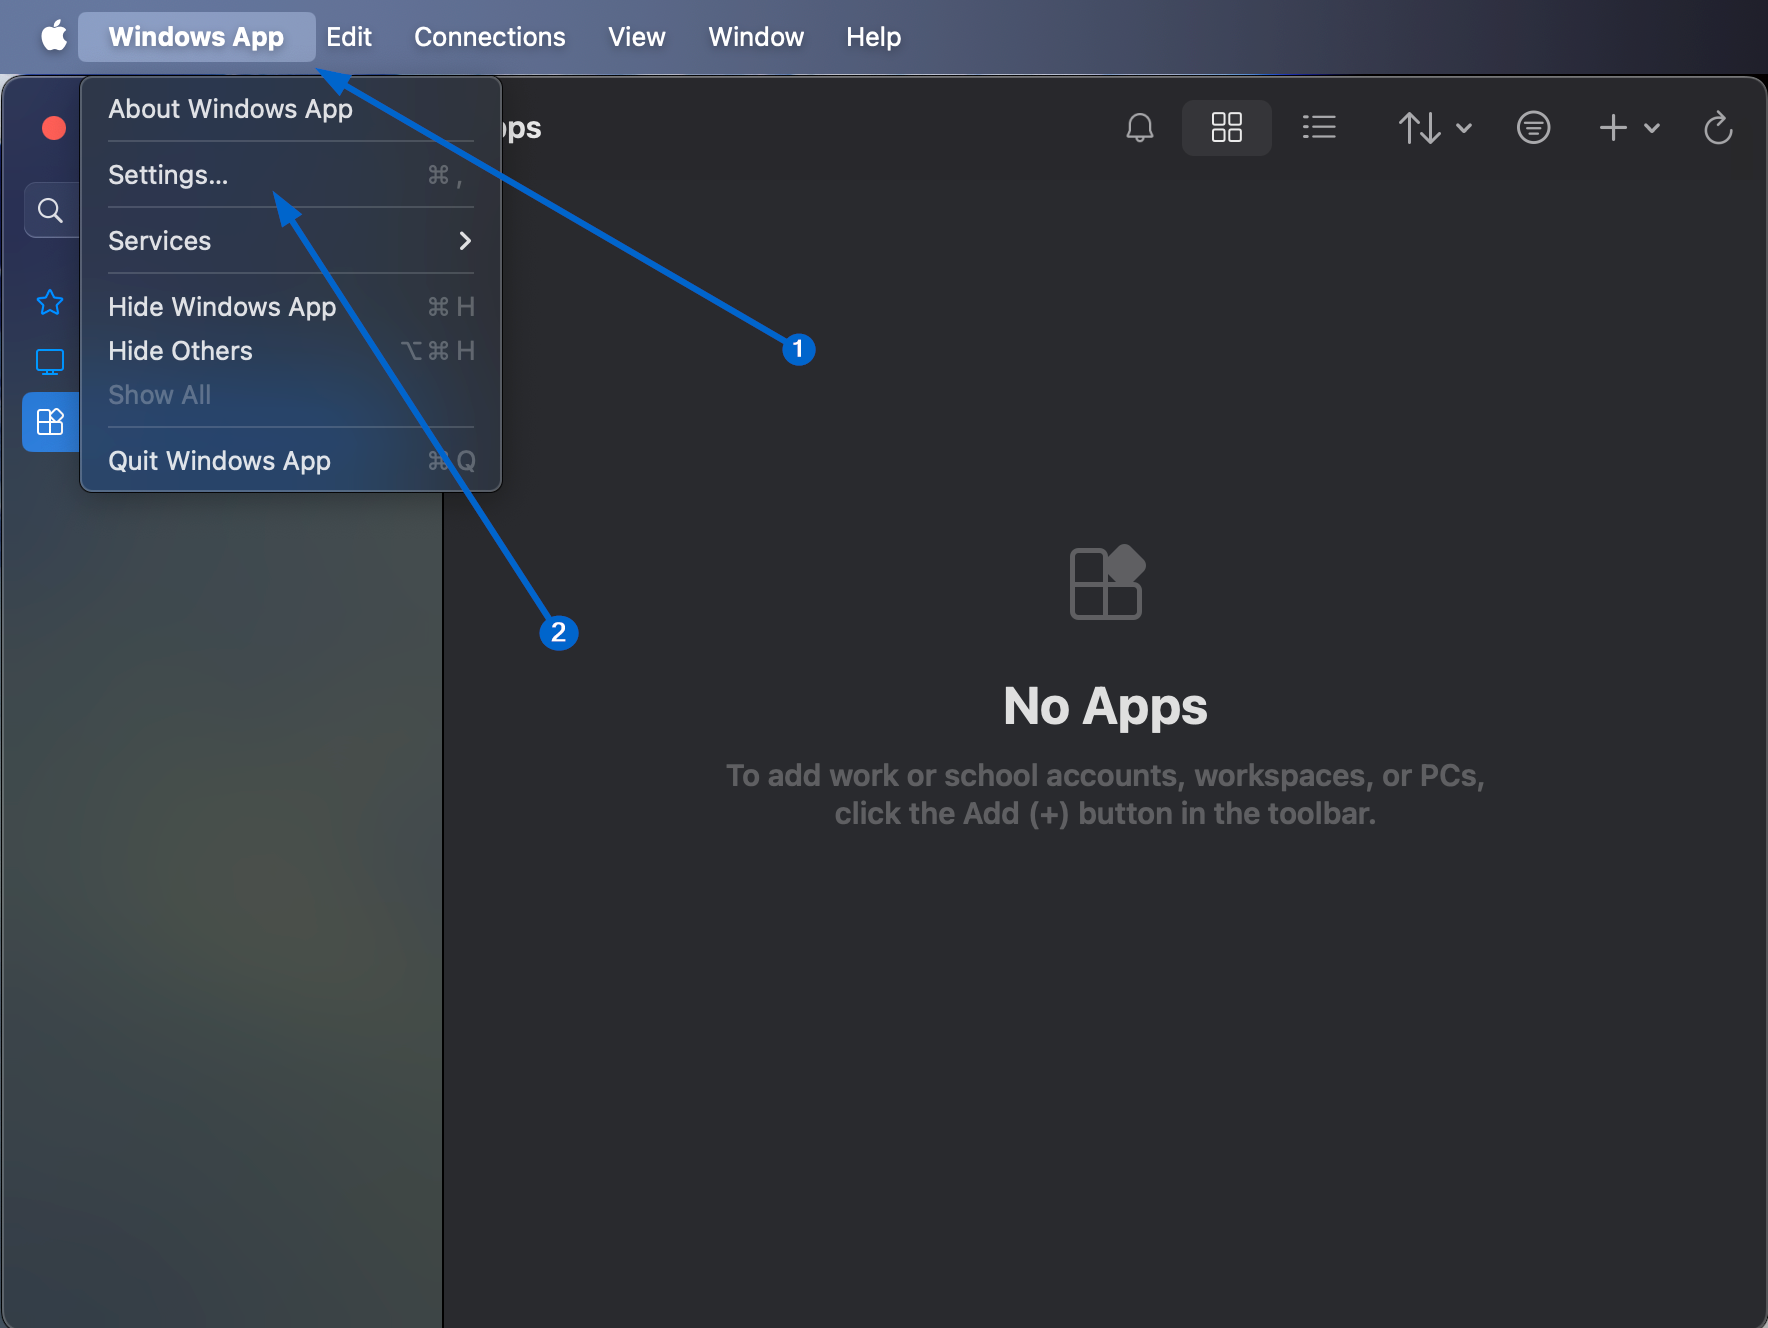
Click on Windows App and choose Settings.
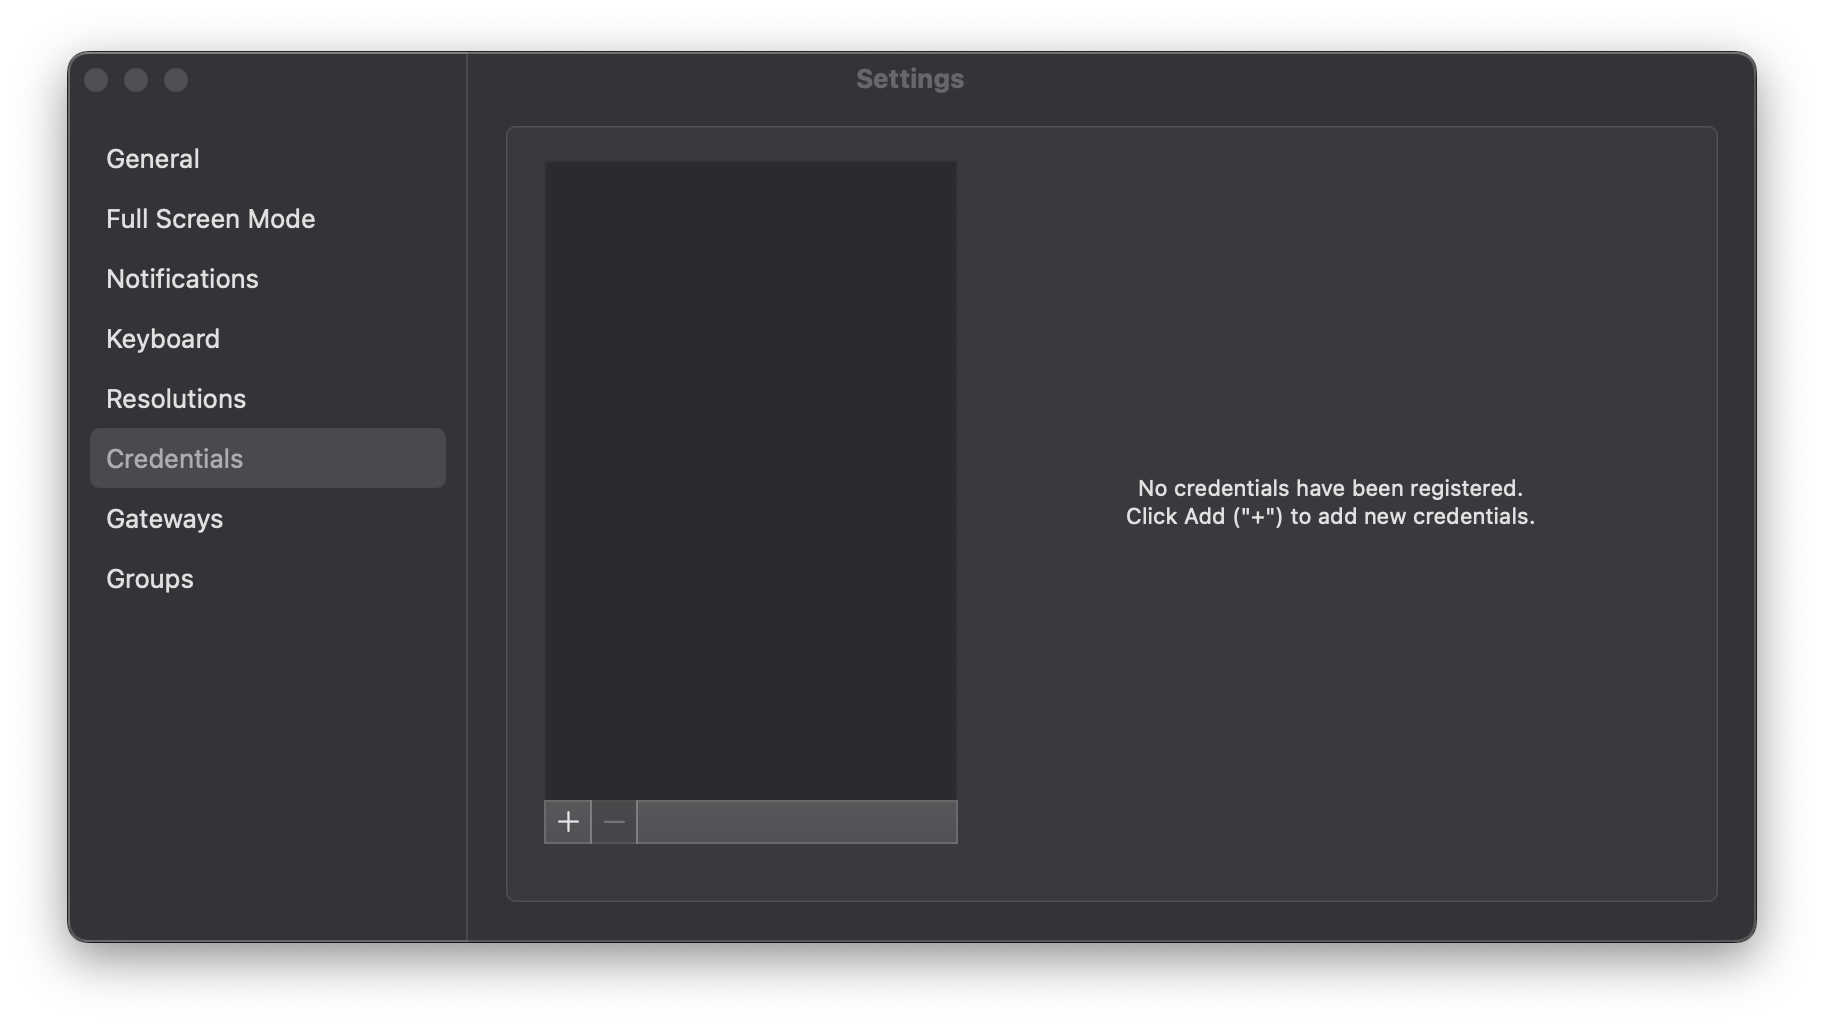
On the Settings window click on Credentials and then click on the + sign to access the Add User Account pop-up.
Fill in your User Name and Password in the Add User Account pop-up and click Add.
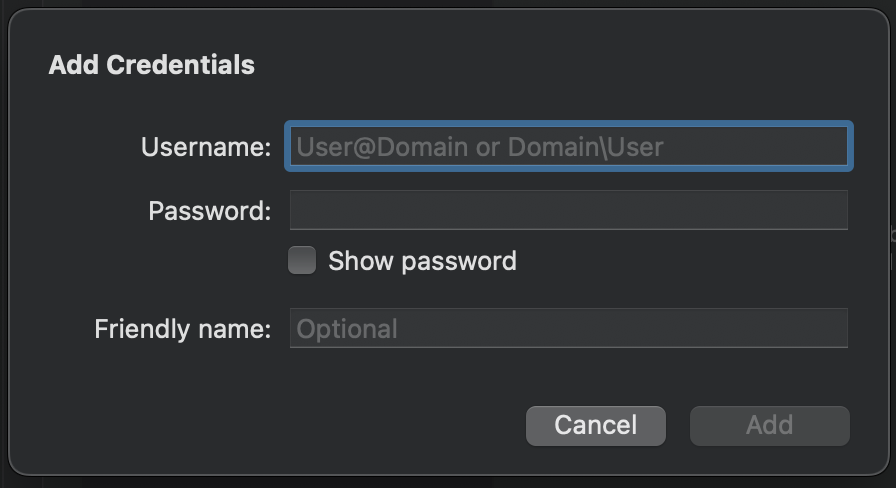
If you would like to add local drive mapping for transferring files to and from the cloud. Then continue on or skip to Step 8. In the Settings window go to General tab.
At the bottom there is an option for folder redirection. You can select Choose Folder... and then path out to the folder you would like to download and upload files from. Then hit Choose, the folder path you selected should now show up. You can only have one folder shared at a time.
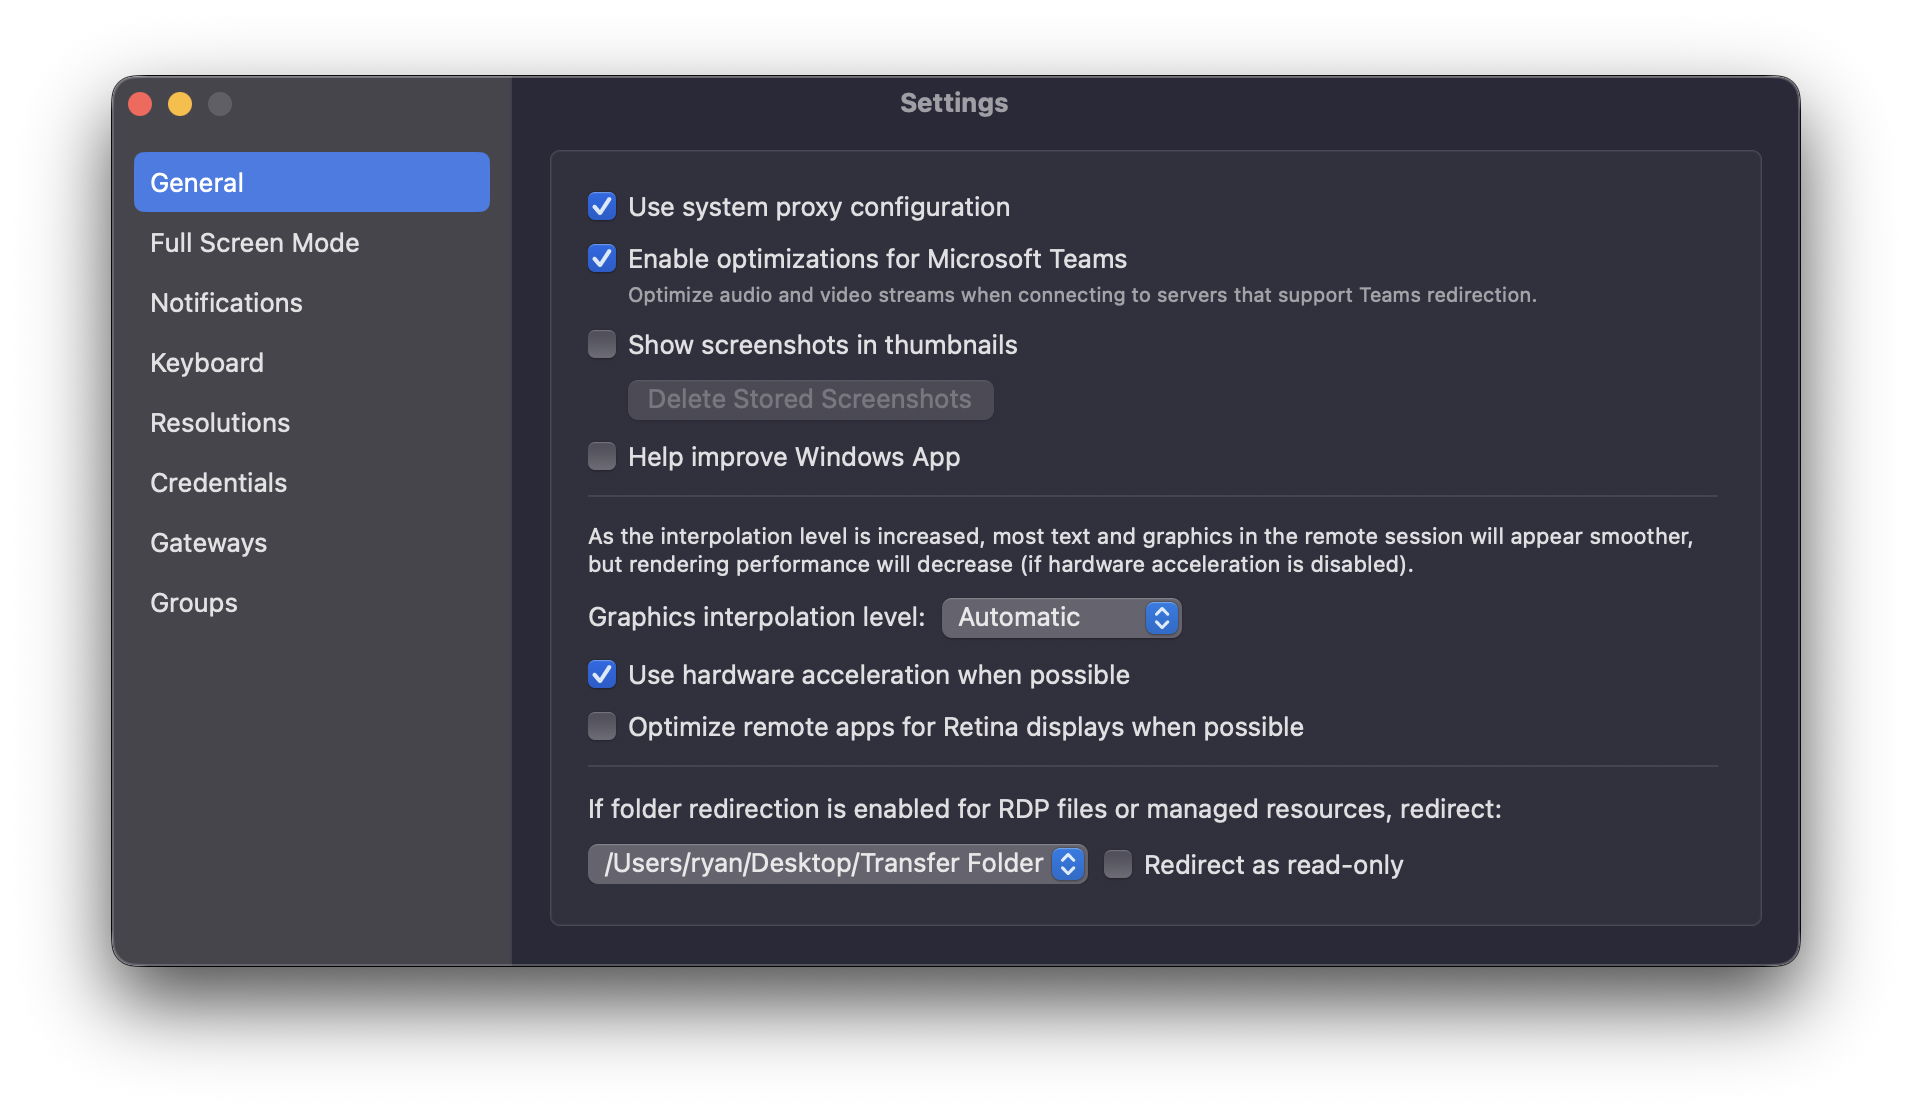
Close the Settings window to return to the main screen.
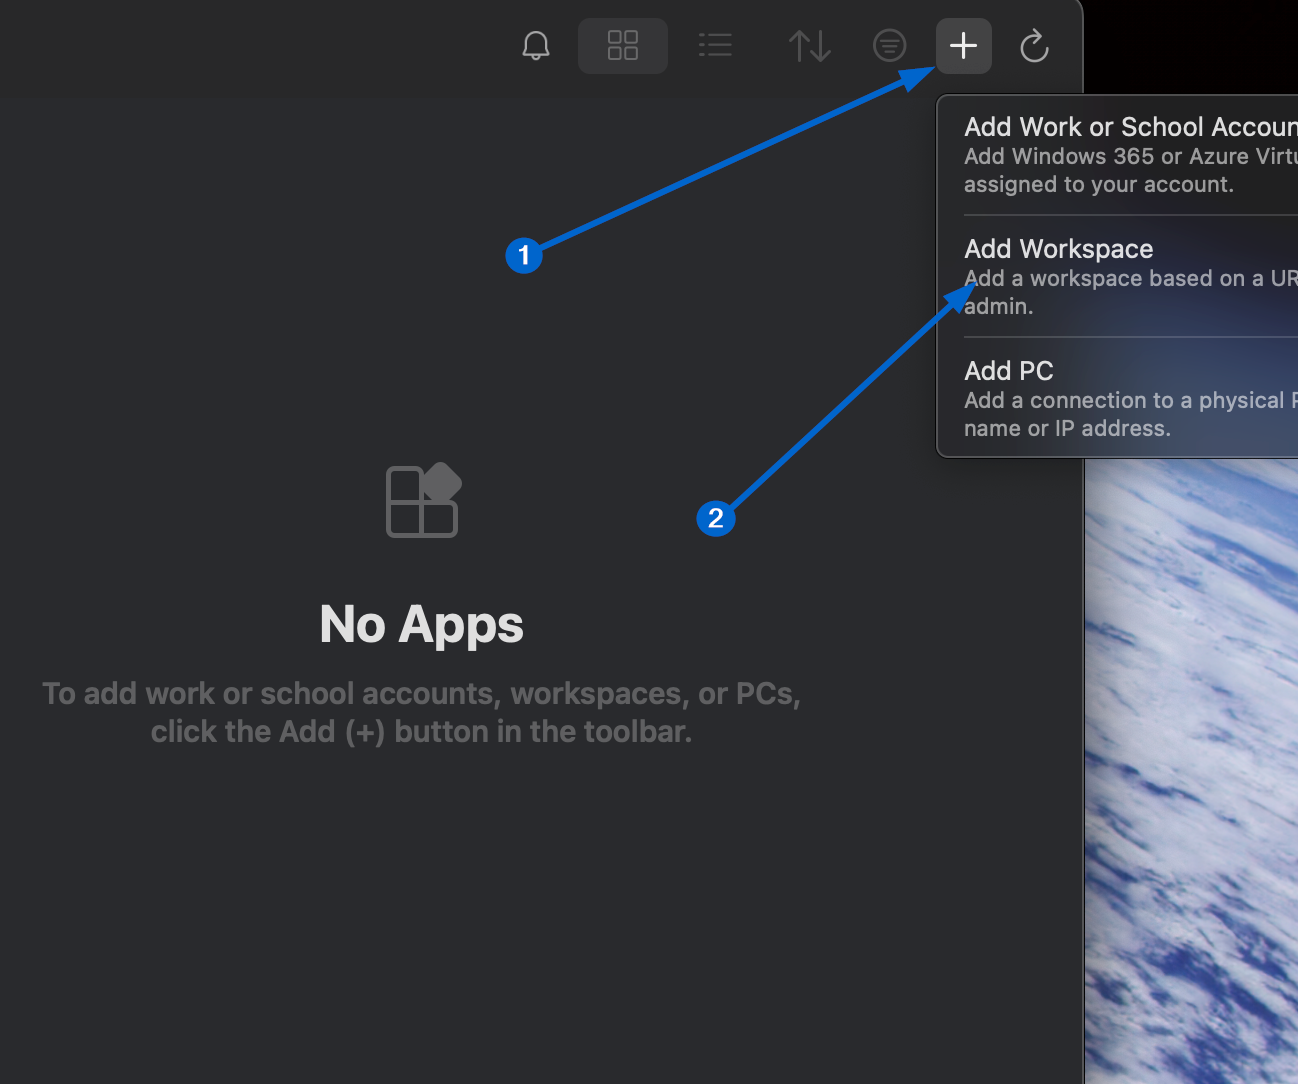
Click on Apps then the + sign to add a new Workspace.
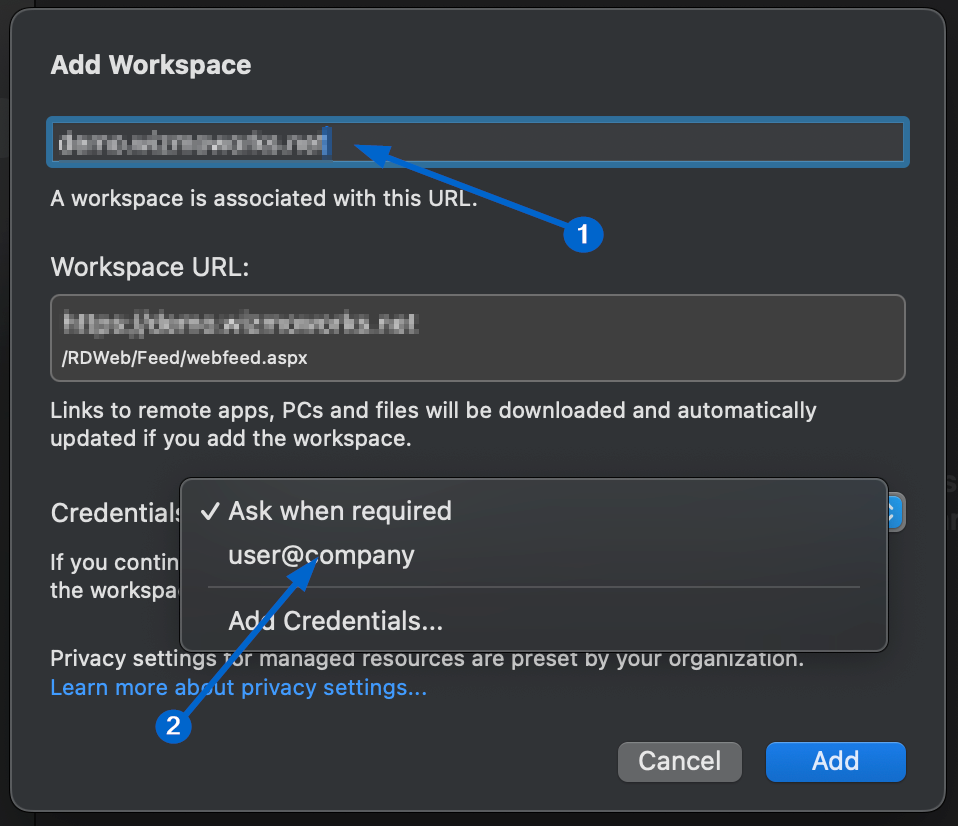
Fill in the provided URL (https://hosted.freymunicipalsoftware.com/). Then select your account from the drop down list and click Add.
Double click on your new Work Resource to log into the hosted environment.
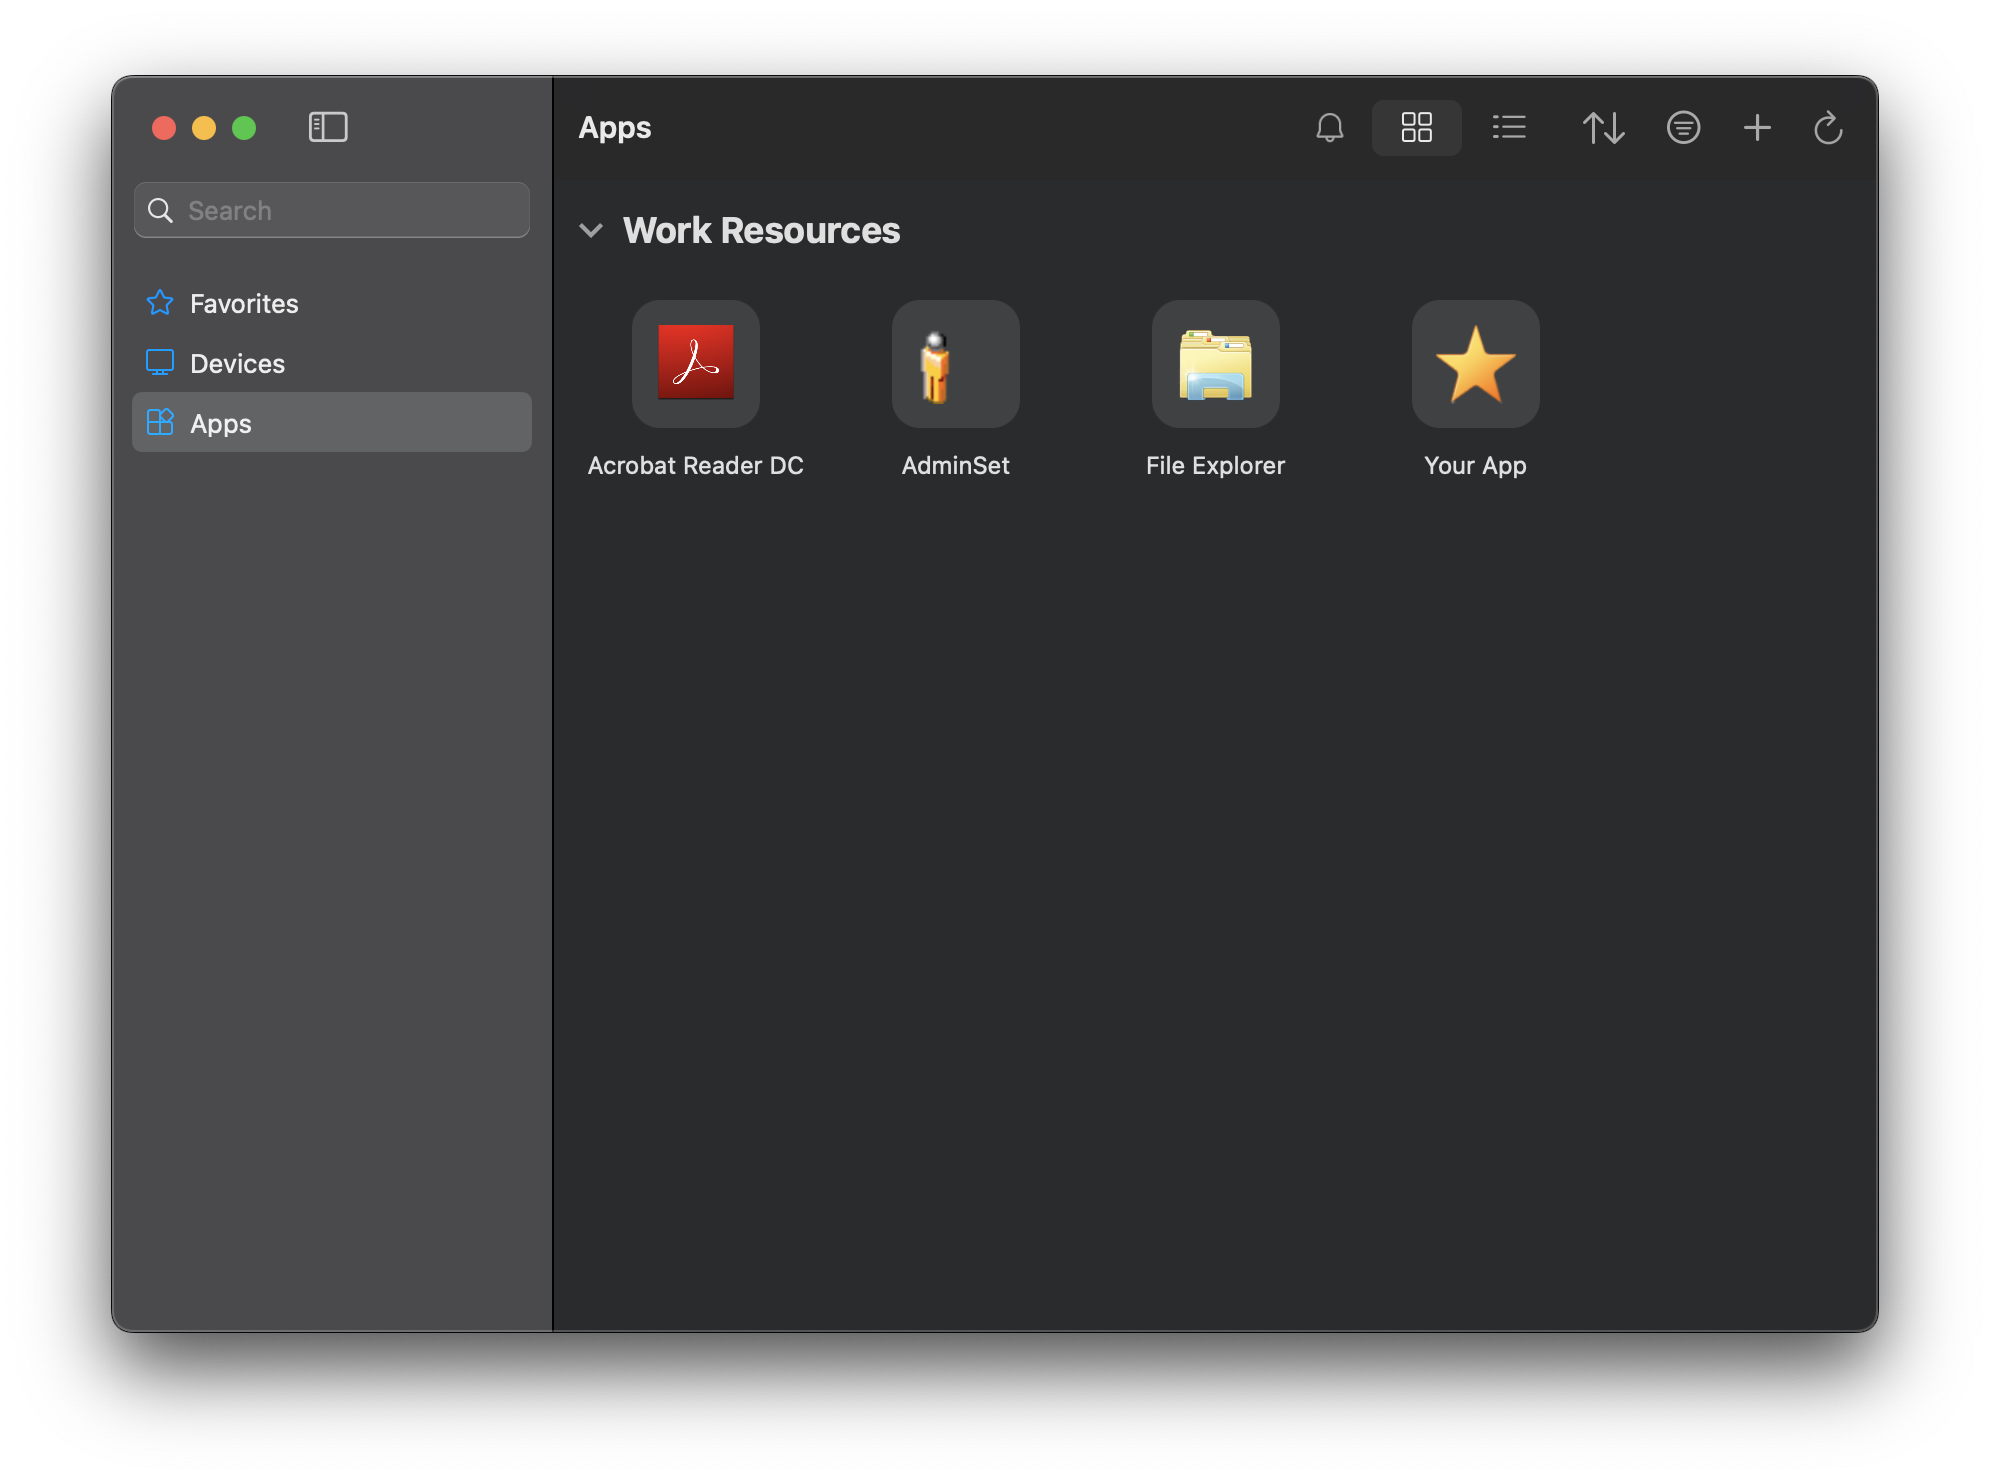
You have now successfully set up access to your RDP environment on your Mac.
How to Sign In
- You will always use the Windows App application to access your hosted session.
- Once you have set up access by completing the above steps, you can simply launch the Windows App application, click Apps and select your resource from the Work Resources list (shown above) for future logins.